SMRender is a great open source (GPL v3) tool to render Open Street Maps data to an image file. It was originally meant for rendering high quality sea maps. I have a new project where I want to take a look at some map data where I live and show it off in an interesting and digestible way. I live in Philadelphia now so let’s use that as our example here.
Open Street Maps produces a set of street maps for the world available as an xml dump. Various people have produced subsets of this data for more local purposes. The bbike project provides dumps for over 200 cities as small files. The first step is go there and download a file. You’ll want the “OSM XML gzip’d” release. Don’t forget to decompress the file.
The next step is clone smrender and build it locally. I’m on Linux so the toolchain is already setup on my machine. Go find another tutorial to explain how to set it up, but you’ll do the following.
git clone https://github.com/rahra/smrender
cd smrender
./autoconf.sh
./configure
make
I didn’t want to install. I just wanted to keep the binary local. You will find
it under src. You can move this binary and tools around freely if you keep
the other wrapper stuff together.
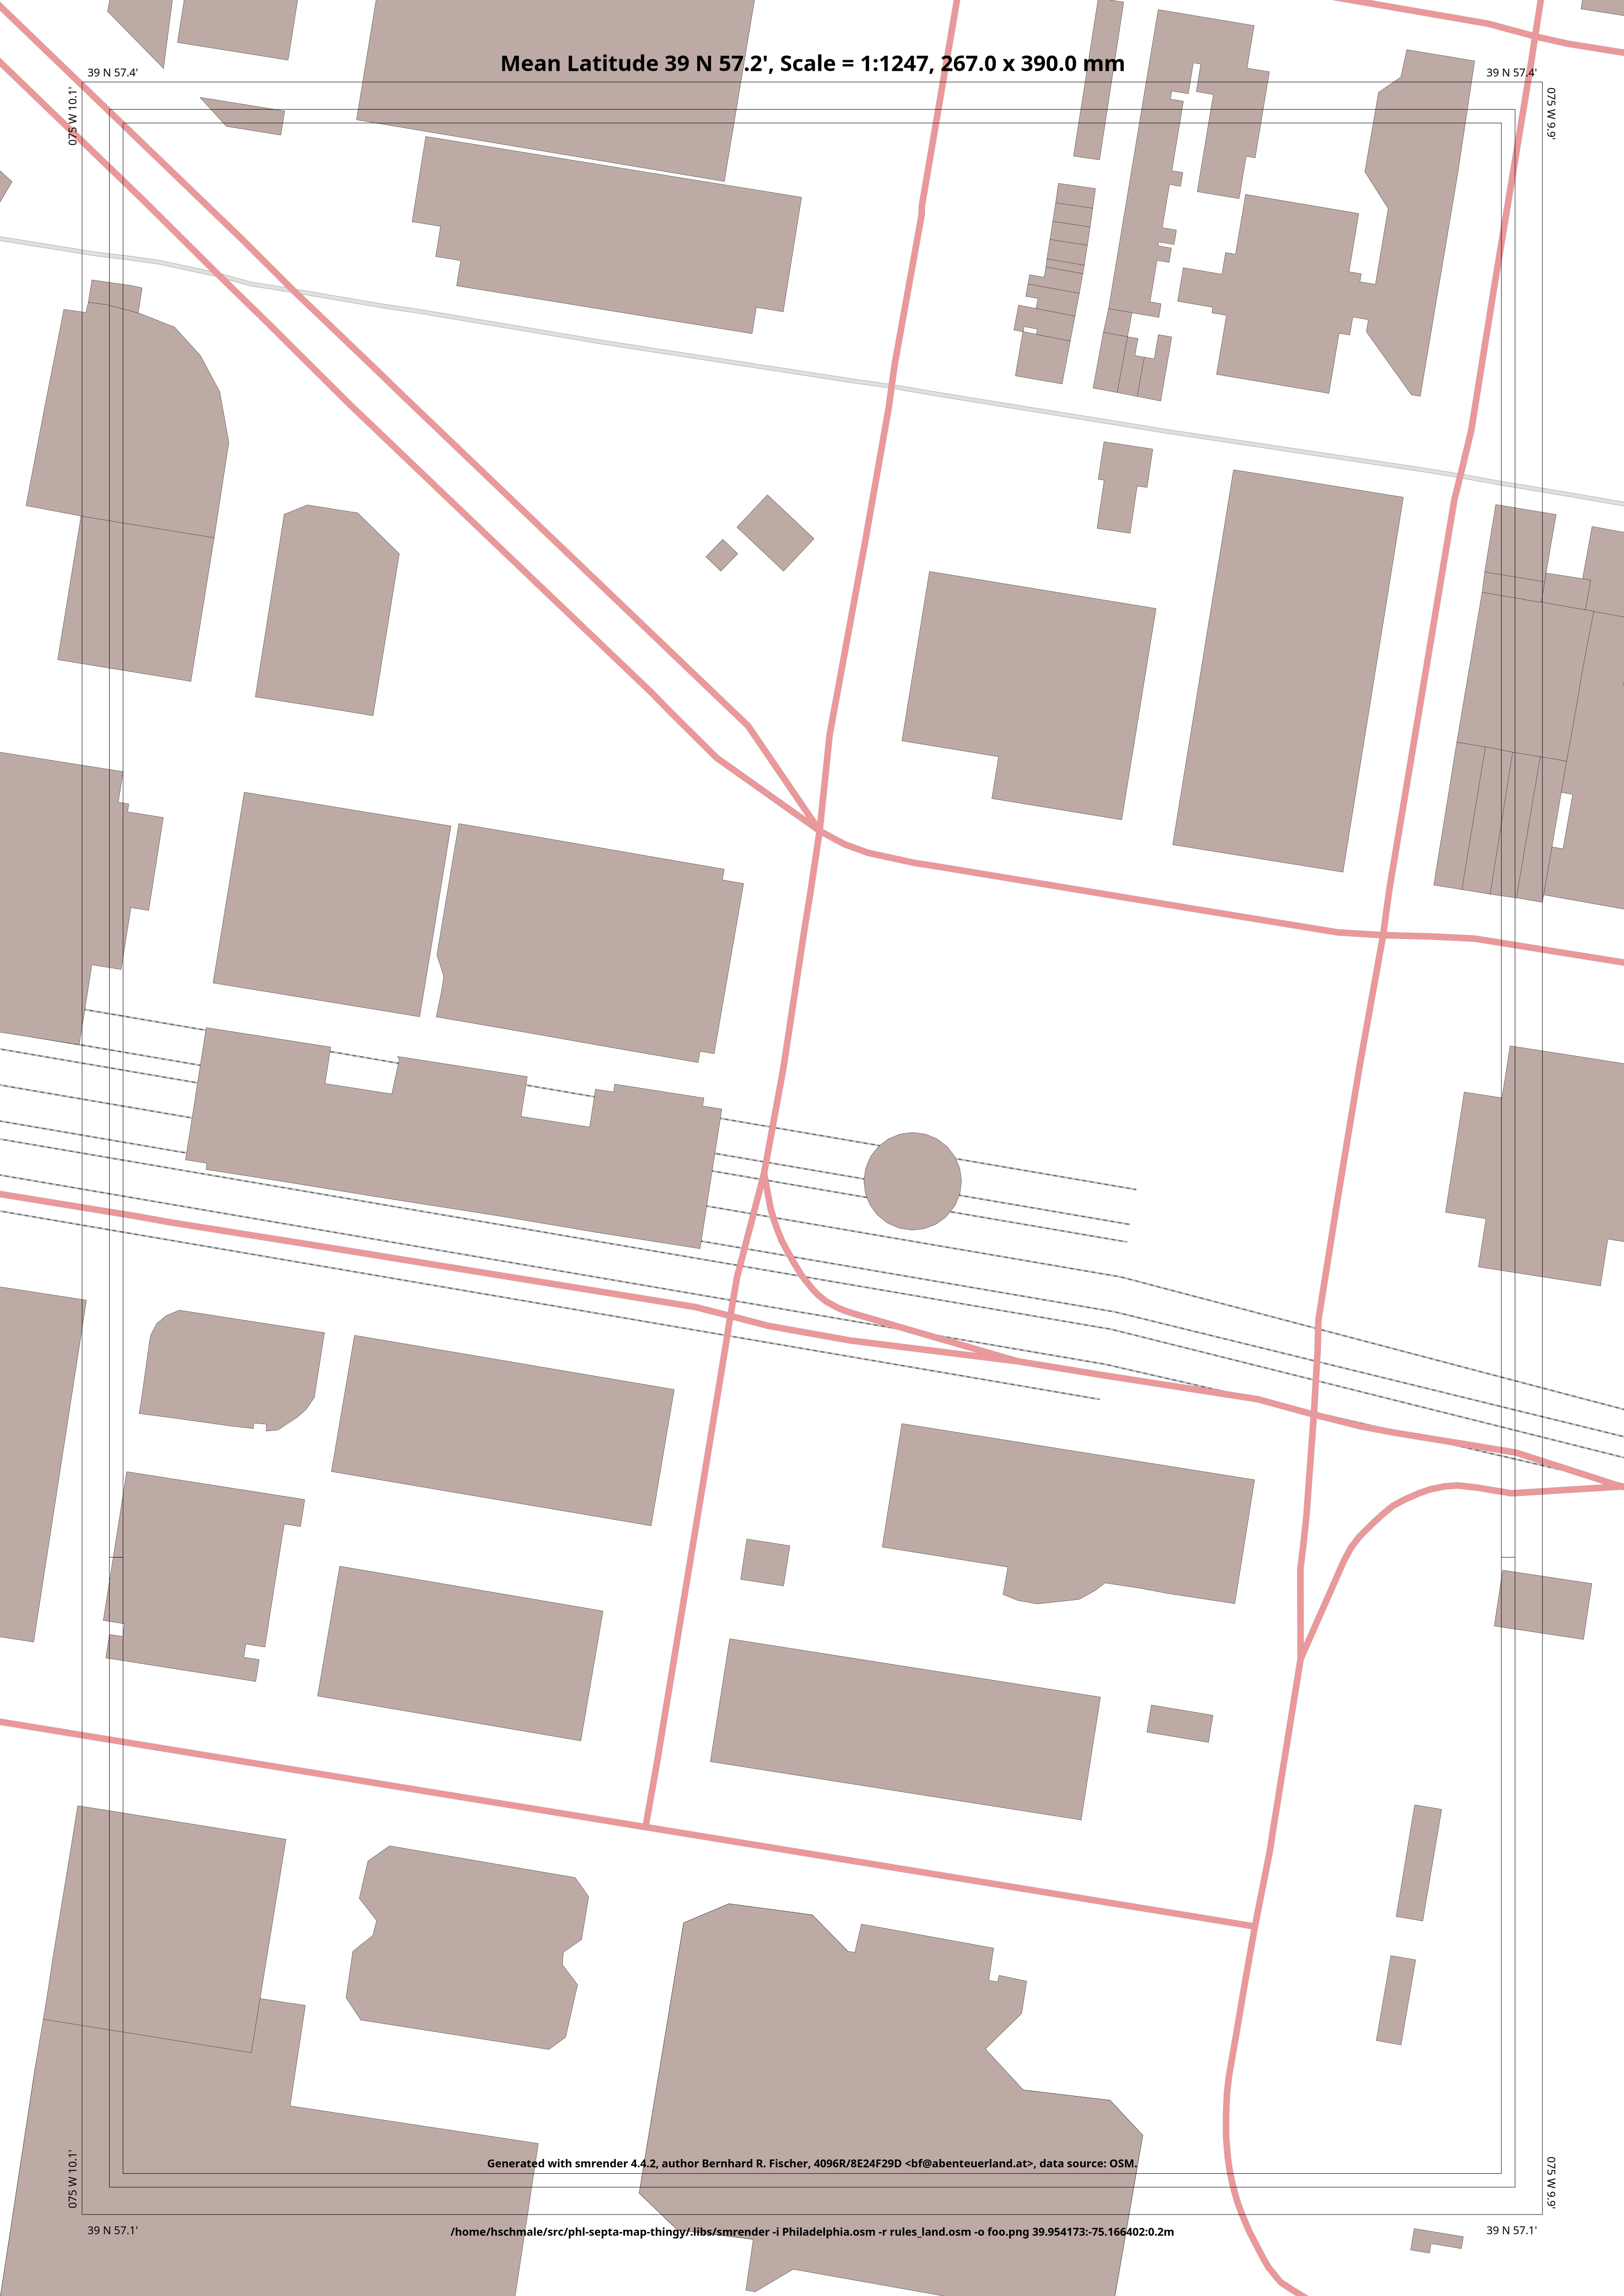
The next step is to figure out what part of the world you want to render. I’m most interested in the 16th and Arch bus stop for SEPTA (If you care at all make sure it is funded). This is located at latitude 39.954173 and longitude -75.166402. We’ll also need to decide how large of an area we want to render. I’m interested in about a quarter mile around this bus stop. Distances are specified in nautical miles which are slightly bigger than regular US miles.
Then you’ll need a rules file fortunately smrender ships with a couple of default rules. I used rules_land.osm. Finally we’ll string these steps together to get our first output.
./smrender -i Philadelphia.osm -r rules_land.osm -o your_output.png 39.954173:-75.166402:0.25m
Running the above command should produce output similar to below. All file paths above are relative so make sure you moved things around to be local.
The -d flag sets dpi. This is useful for producing images to be displayed on screens, as most have fewer than 72 dots per inch.
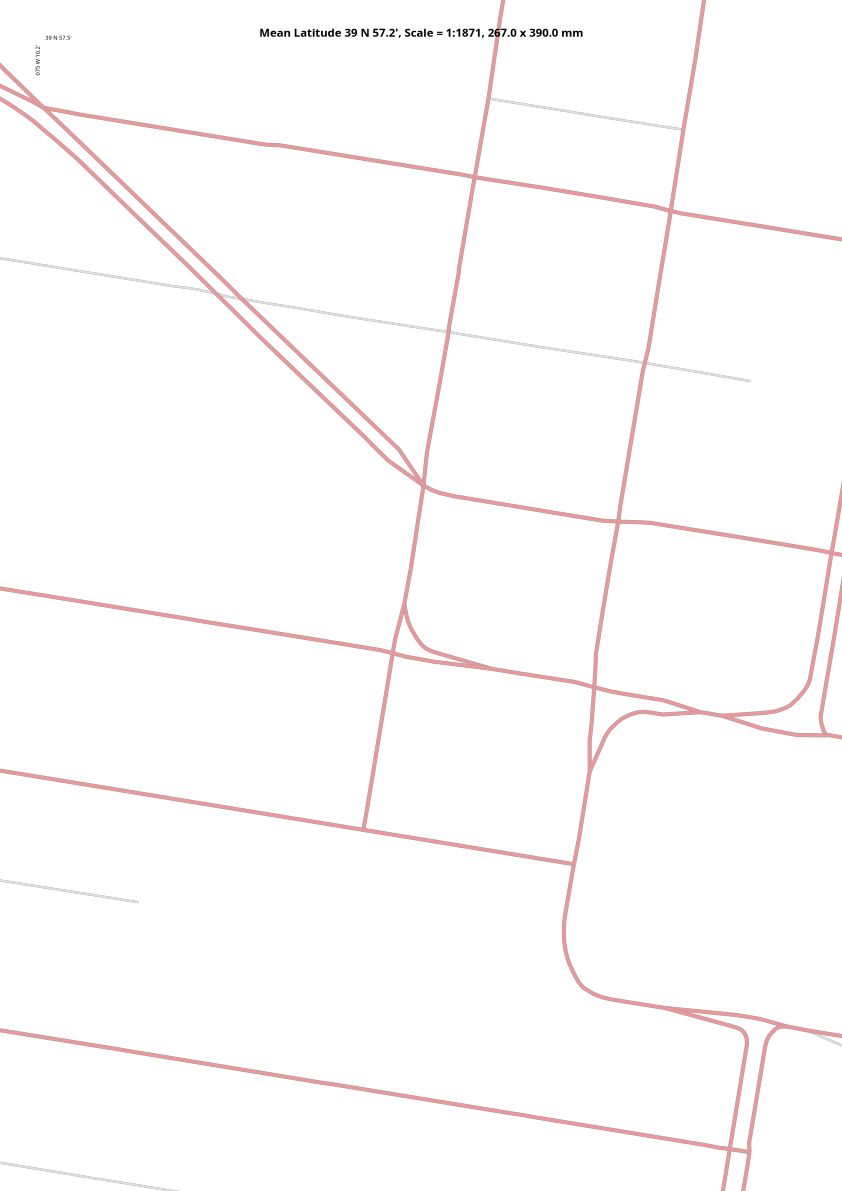
The obvious next step is to modify the rules files to produce different interesting things about the map. I tried zooming out further and deleting some rules in the original file to produce this one. It is left as exercise to the reader to figure out what I did.
For further details on how to use smrender I highly recommend reading the docs. Many thanks to the Open Street Maps project for publishing this data and making it freely available, and a lot of thanks to the author of this software. I hope I have provided a brief introduction and given you space to explore this amazing tool. I’ll be back later with more details on what exactly I’m doing with it.